Note: If you have not yet downloaded the free Primo Loop for Business App, we suggest that you do that now as it will be easier to follow along and understand the information in this article.
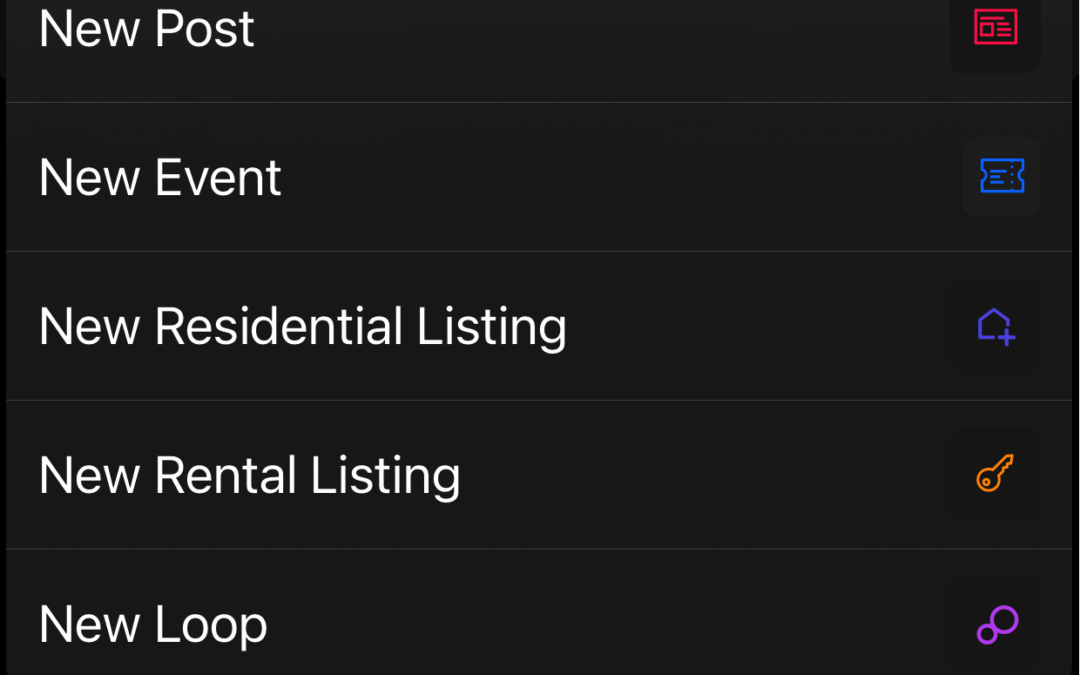
Primo Loop for Business provides six different Smart Message (SM) templates for Business Owners to use so they can easily and rapidly create their smart messages.
- Promotions
- Events
- Posts
- Residential Listings
- Rental Listings
Publishing using Primo Loop for Business is quite simple. You choose a template, fill in some required and optional details, preview the message and tap publish.
Once a message has been published, you can use that as a “prefilled” template for future publishing, which is a real time saver! Below are the step-by-step directions:
Step 1: Choose a Smart Message (SM) Template
Based on your goal for sending a SM, you choose the appropriate template.
- Let us say you want to inform your members about a last-minute happy hour promotion, you’d choose the Promo template.
- If you want to drive attendance to an event you are organizing you would choose the Event template.
- If you want to inform about some interesting development at your business you’ll want the Post template.
- If you are in real estate or property management and want to inform your audience about a residential or rental listing then you choose that template.
Step 2: Complete the Important Fields of Your SM
Each template has a set of required fields that you’ll need to complete. Then add any other info you want. Just a few taps and your message composition is complete. The required fields are to help you ensure all the important info is included.
If you have a previously published SM, you can use that to quickly create a new SM simply by tapping on the SM to open it and clicking on the 3 dots at the top right of your screen, where you’ll see the “copy” option.
This saves you from having to repeat information that stays the same from one SM to another. Optional pieces of information such as external links can also be added to an SM.
Step 3: Set the Audience for Your SM
Audience refers to who will receive this SM. There are two types of audiences – Loops or individual members.
Loops are the smart list of members. It is similar to an email distribution list except that Loops do not have to be managed by the Business owner. Loops are opted-in or opted-out by the members themselves. Therefore, they are 100% maintenance free for the Business owner. You can choose one or more of your Loops.
Or you can choose a list of individual members (max of 10) as audience. Choose “Members” and tap on the members you want to receive the message.
By design we do not allow a mixed audience of loops and members. This avoids unnecessary complexity.
When a message is sent to a list of members, we call such a message a Direct Smart Message or just Direct Message.
Step 4: Tap Preview, Review It & Publish
You preview the message so you know what a member will be seeing. If all looks okay, just tap Publish. If you want to make changes, you can return back to edit mode and then return back to preview and publish again. It is that simple.
We invite you to publish your first smart message once you’ve got the app downloaded and your profile set up.
